How to Photograph Trading Cards Without Glare
You take a photograph of a card, check the screen, and find a bright window reflected across the artwork. Moving the phone removes the reflection but leaves a shadow over one corner. Foil cards can make the problem feel especially stubborn.
A simple setup helps. The aim is to show the card clearly while keeping the details that tell someone what it is like in person.
Give one card a clear working space
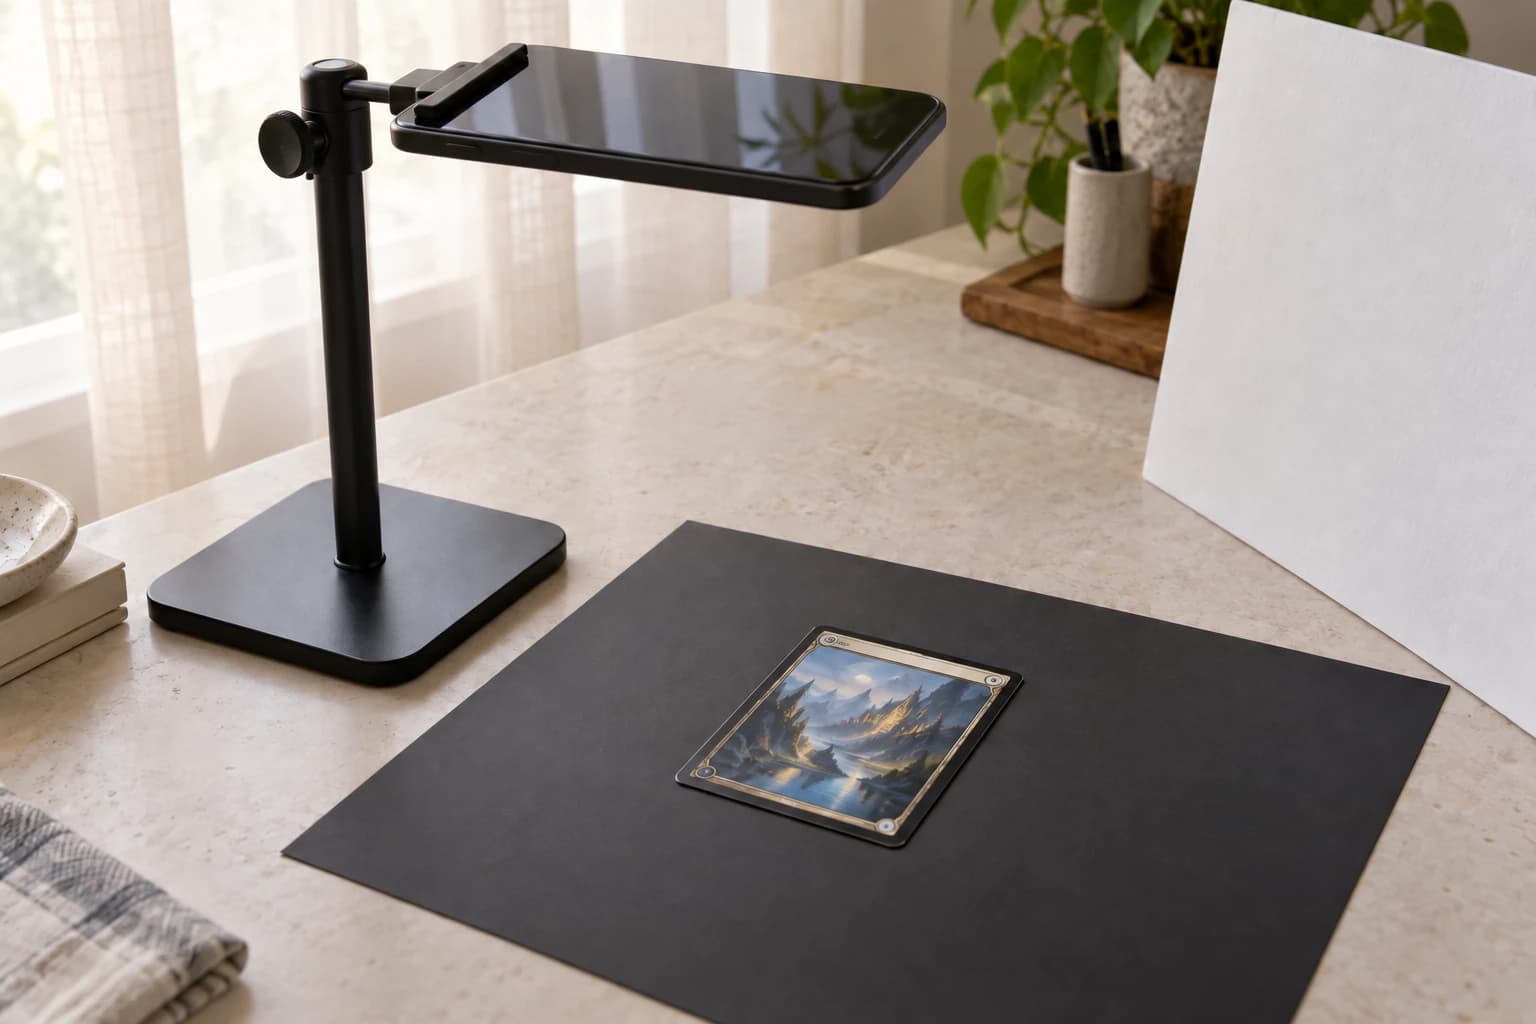
Use a clean, dry surface with enough room to turn the card over safely. A smooth, matte background makes it easier to see the outline. Choose a colour that separates the card’s edges from the surface beneath it.
Keep the binder nearby, but photograph individual cards outside the page when you need detailed condition photos. Page plastic introduces another surface that can reflect the room.
Work with one card at a time. It is easier to keep the front, back, and detail photographs matched when several similar versions are not spread across the desk.
Start with soft light from one side
Try a window with a sheer curtain, or a position out of direct sun. Turn off nearby lights if they are adding a second colour cast or a bright spot on the card.
Look at the phone screen while moving the light source or changing your position slightly. A reflection shows where the glossy surface is sending the light towards the camera. Often a small change is enough to move it away from the artwork.
Avoid placing a lamp directly beside the camera and expecting the reflection to disappear. eBay’s photo guidance also recommends avoiding flash and overhead lighting to reduce glare, using a neutral background, and showing imperfections in additional close-ups.
If one side looks too dark, a plain white card or foam board placed opposite the window can bounce some light back. Move it until the result looks even enough; a perfectly flat studio effect is unnecessary.
Keep the phone parallel for the main photographs
For the full front and back views, hold the phone approximately parallel to the card. The borders should look straight rather than narrowing sharply towards one end.
Use the main camera as a starting point. Leave enough distance for it to focus, then crop spare background later. Getting extremely close can make the image blurrier rather than more detailed.
Tap the card on the screen to set focus. Check a corner and a line of small print before moving on. A stand or a supported, steady grip helps keep the distance and framing consistent.
Leave a small margin around all four edges. A cropped-off corner is a missing piece of information, even if the rest of the image looks good.
Treat foil and surface detail as separate photographs
One angle will rarely show the artwork, foil effect, and every surface mark equally well.
Take a clear face-on photograph first. Then add an angled view with the light catching the surface. Move the phone or light gradually and watch how the reflection travels across the card. Stop when the detail you want to document is visible.
A bright reflection can hide a scratch, but removing every reflection can hide texture too. Use several views to give a fuller account. Do not bend or flatten a card to change how it catches the light.
For a sale or trade, photograph a mark directly and mention where it is. Let the viewer understand what they are seeing.
Decide whether the sleeve is helping
A sleeve protects the card during handling, but scratches or cloudiness in the sleeve can be mistaken for damage to the card itself.
Start with the card protected. If a sleeve prevents a necessary detail from being shown, consider whether you can remove the card safely in your prepared space. Handle it by the edges and return it to protection afterwards.
Do not remove a card from a sealed graded holder. Photograph the holder and label, then make clear whether a visible mark appears to be on the holder or the card. If you cannot tell, say so.
Use a small, repeatable photo set
For an individual card, a useful starting set is:
- The complete front, with all four corners visible.
- The complete back at a similar distance.
- An angled view that shows the surface or foil.
- Close-ups of any wear, dents, scratches, or other details that need explanation.
- A readable holder label where relevant.
Review these at full size before putting the card away. It is much quicker to retake a soft corner now than to rebuild the setup later.
Keep edits faithful to the card
Crop empty space, straighten the frame, and make modest brightness adjustments where needed. Compare the edited result with the card under neutral light.
Avoid filters, aggressive sharpening, and retouching that removes marks or invents detail. A more attractive image is not useful if it gives the wrong impression of colour or condition.
Keep the original files, and group each card’s photographs together using its name and set number. When you finish, return it to its normal storage position. Our binder storage guide covers that routine.
If you are photographing cards for an online transaction, the guide to buying trading cards online is useful from the other side of the exchange: it shows the questions clear photographs should help answer.
The best set of photographs lets another collector look closely and understand the card without having to guess what the glare is hiding.